Intro: Most people have used polyurethane at some point in their lives. If you’ve ever finished a piece of furniture by applying a coat of it in order to make it look shiny and new, then you know all about how to apply polyurethane to wood.

We’ll start by going over the different types of polyurethane and how to use both for finishing furniture. We’ll then give you step-by-step instructions on how to apply polyurethane without any mistakes. When doing this project, we recommend that you have an assistant nearby who can help with tasks such as managing the ventilation or handling large pieces.
Types Of Polyurethane
While we’ve already mentioned the two main varieties of polyurethane, let’s go into a bit more detail. Oil-based polyurethane is the original type of the two, but it’s much harder to find these days. It’s also messier to use when compared with water-based polyurethane.
Water-based polyurethane is much easier to use in most cases due to its lower viscosity and stability in temperatures close to freezing. If you live in an area that gets cold winters, using water-based polyurethane is your best bet if you don’t want your project to fail.
Oil-Based Polyurethane
Oil-based polyurethane is a tar-like substance that can be used to seal the wood. It’s the type of polyurethane that builders use because it can dry quickly, stand up to strong outdoor weather, and is pretty easy to control.
Oil-based polyurethane doesn’t take much strength to apply unless you’re using a long roller, but it does take time because it hardens pretty quickly.
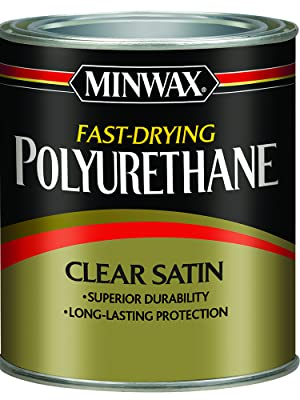
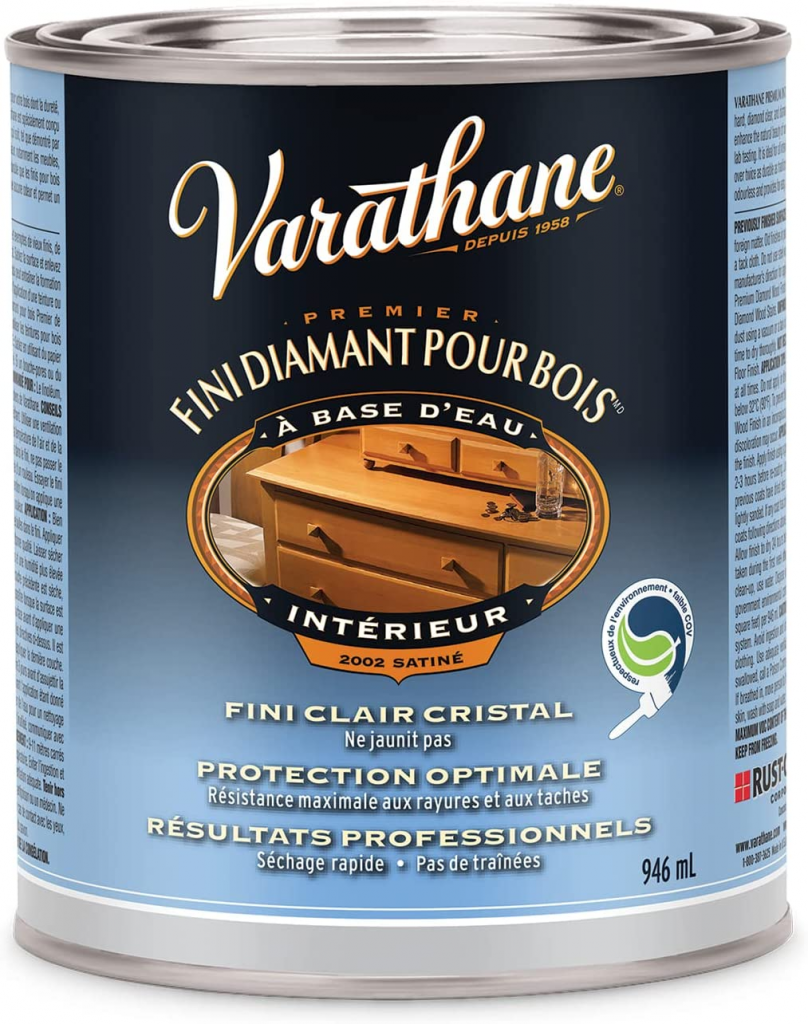
Water-Based Polyurethane
It dries quicker than oil-based polyurethane so that it can be used with either a brush or roller. Like oil-based polyurethane, water-based polyurethane comes in rollers and brushes.
How To Apply Polyurethane To Wood: 6 Easy Steps
The steps in the process of applying polyurethane to wood are fairly straightforward. You can apply it with a brush or a roller, depending on what you prefer.
Prep And Sand Wood Surface
Before applying polyurethane to your wood, we recommend that you prep and sand the surface of the wood. You’ll want to make sure that the wood is clean before doing this, so use a brush with some soap and water to clean it off.
Then, after it’s dry, you can start sanding the surface with some fine-grain sandpaper; 220 grit works well in most cases. Remember that if you’re using oil-based polyurethane, you won’t need to prep and sand the wood before doing so. However, we still recommend that you do so because it provides a smoother finish when using water-based polyurethane.
Set Up A Workspace
You’ll want to make sure that you have a good workspace before you start applying the polyurethane. This is because you’ll need to manage the ventilation and avoid breathing in any fumes, as they’re harmful and dangerous. Ensure that your ventilation is adequate and that it can handle all of the polyurethane fumes generated by the project.
Prep The Polyurethane
Before you apply the first coat of polyurethane, you’ll need to prepare it. This means that you’ll need to mix your polyurethane and pour it into a container or spread it out on a surface so that it can be prepared before applying the first coat.
Apply The First Coat Of Polyurethane
Then, apply the first coat. If you’re using water-based polyurethane, you’ll want to apply a thin layer of polyurethane using a brush and allow it to sit for five minutes before going on with other steps in the process. This is because water-based polyurethane isn’t as viscous as oil-based polyurethane and will take longer to dry if you don’t allow it to sit for a few minutes.
Apply A Second Coat Of Polyurethane
After allowing the first coat of polyurethane to dry for a few minutes, you can apply the second coat. If you’re using oil-based polyurethane, you’ll want to apply a second coat after two hours; the drying time will go down to around one hour if using water-based polyurethane. You can use a brush or roller for applying the second coat, depending on what you used for the first one.
Let Dry Completely
After the second coat has dried, you’ll then need to let it completely dry. It’s recommended that you leave at least 24 hours between each coat of polyurethane if using water-based polyurethane and around 36 hours if you’re using oil-based polyurethane.
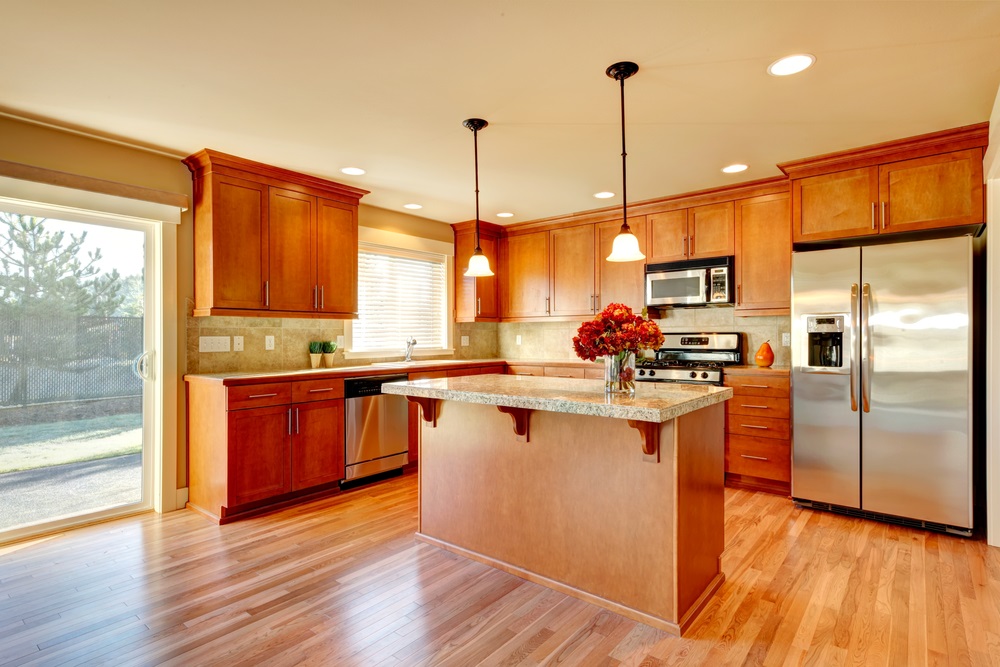
How To Apply Polyurethane To Wood Floors
There are many ways to apply polyurethane to your wood floor, but the main method is the same for both types of polyurethane. You’ll need to clean your floor, use your preferred applicator (roller, brush, spray), and apply the polyurethane evenly. The type of applicator you use will depend on the kind of finish you’re applying.
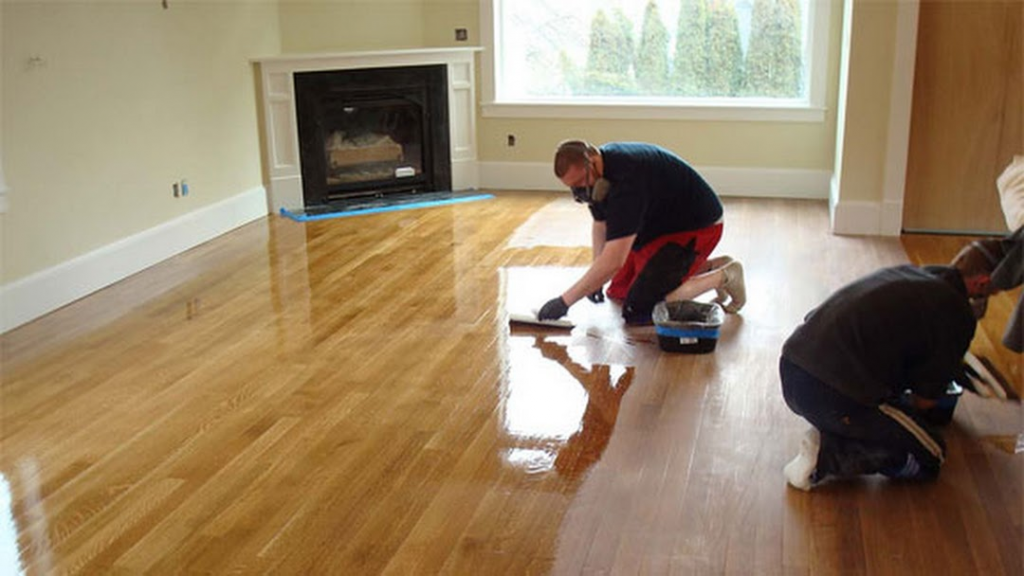
If you’re doing an oil-based finish, then you can go right in to apply it onto your wood with a roller or brush. For water-based finishes, use a brush instead of a roller because it’s generally harder to control when using a roller.
How To Apply Polyurethane To Wood After Staining
Most wood stains will work with both oil-based and water-based polyurethane, but some do work better with one or the other. If you’re going to be staining your project, then start by cleaning the wood. This will ensure that you have a clean stain for your project.
If you want to apply oil-based polyurethane on a stained wood floor, start by applying a very thin layer of stain first on the flooring. Then use a roller to apply a thin layer of polyurethane onto the first coat of stain. Wait for this first coat to dry before applying another coat of polyurethane over the top.
How To Apply Polyurethane To Wood Without Streaks
If you find that polyurethane leaves streaks when applied to your project, then there’s something you can do to avoid this problem. It’s called “run-off,” which means that you will have streaks in your finish when the polyurethane dries quickly. To avoid this problem, you can spray your project with a product called “curing oil.” This will help protect the grain’s surface in the wood, helping to prevent streaking when using either type of polyurethane.
The Bottom Line
If you want to seal your wood items completely, then polyurethane is the best choice because it’s much stronger than other finishes. This means that polyurethane can protect your wood items by protecting them from damage, scuffs, spills, and other things in your home. Polyurethane is also easy to apply and dries relatively quickly. If you’re using oil-based polyurethane, you’ll need to allow ventilation while the finish is drying.
If you want to apply polyurethane without any problems, read the instructions on the label carefully before you start. Either use a product called curing oil or pre-coat your wood with a stain before applying the polyurethane. This will help with streak-free results and quicker drying times. I hope this guide was valuable for you and will help to apply polyurethane to the wood properly.