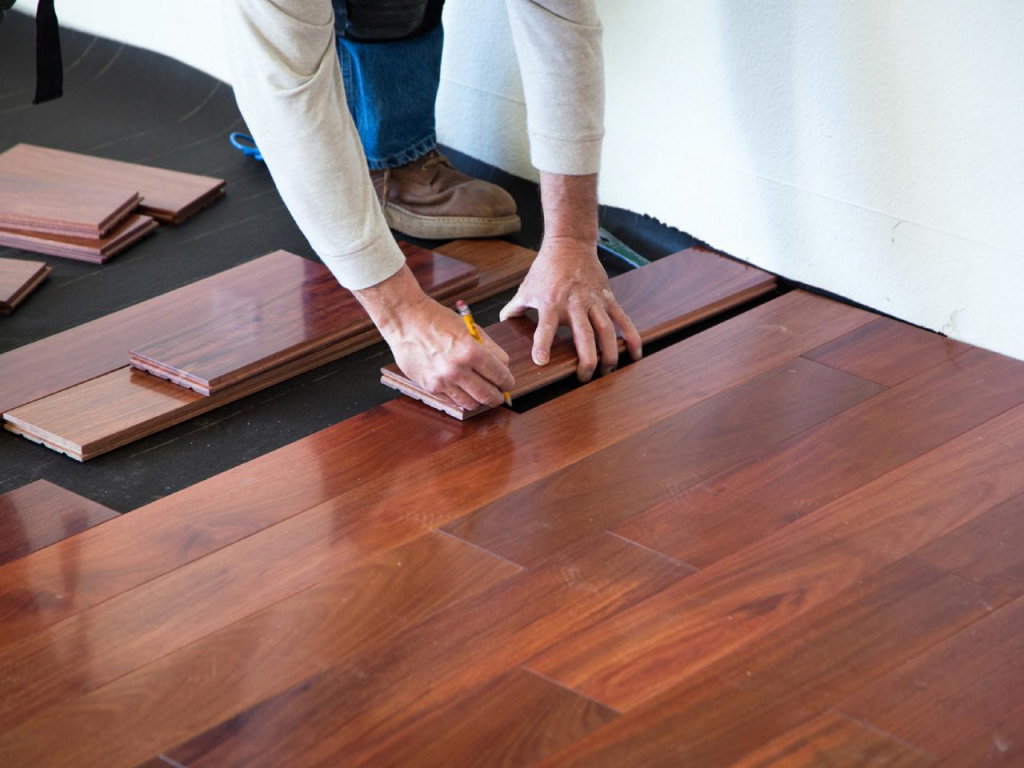
Install wood flooring in your house can improve your home’s look and even increase your house’s value, but many homeowners are unsure how to install wood flooring. I hasten to reassure you; there is nothing complicated about it. To install a wooden floor, you need to choose the material to be installed, prepare the area in the room, measure the required length of planks and install them in place. After that, it is enough to finish the installation, clean up the room and enjoy the quality wood flooring.

If you are considering installing wood flooring in your home, in this article, I will be discussing how you should go about doing it in the right way.
Things And Tools You May Need To Install Wood Flooring In A Perfect Way
Installing wood flooring is not complicated, any more than any other flooring material, but there are some tools and things you may need to do it properly:
- A pencil
- Measuring tape
- Hand saw or jigsaw
- Wood glue
- Spacers
- Knee pads
How To Install Wood Flooring In 5 Ways: Step-by-step Guide
Installing wood flooring can be a big project, particularly if you are installing hardwood flooring for the first time. There are many factors that influence how to install wood flooring, such as picking out the suitable material, tools you will need, and the installation process. In this step-by-step guide, I will look at all five steps you need to go through to install your flooring with no fuss.
Step 1: Prepare The Area
Before you install the wood flooring, it is necessary to prepare the area. You need to remove any obstructions, and also, you need to level the surface and clean it with the cleaning agent. Some people do not prepare the flooring before installation, and they are unable to fix some problems after the installation. In order to prevent the issues, you need to prepare the area before the installation.
Step 2: Countersink The Nails
The purpose of countersinking the nails while installing the wood flooring is to give the nails a flat surface to rest upon. This procedure will effectively conceal the nail and prevent it from sticking out, making the wood flooring look better. Because it is very challenging to smooth out the nails with a pneumatic nailer, it is best to countersink the nails before installing the wood flooring. This will make your job much easier.
Step 3: Fit And Lock The Boards
If you’re in the process of installing wood flooring, you’ll want to take the time to fit the boards together perfectly so that the seams are tight. This will not only give your floor a clean appearance but will also ensure the floor is as strong as possible for long-lasting protection from moisture and pests. Before installing the boards, be sure to plan out the pattern you want to lay them in, and then lay down a wood mesh underlayment.
Step 4: Use A Flooring Nailer
One of the key factors for a successful floor installation is fastening the flooring down as you install it. When you’ve got a solo task like installing the flooring in a basement, the process can be pretty tedious. There are some ways to speed up the process, including renting specialty tools to do the job for you. One of the fastest ways to install the flooring is to use a flooring nailer to install the flooring as you lay it down.
Step 5: Finish Hardwood Floor Installation
The first thing you should do before finishing the installation measures the room for your flooring. This includes measuring the walls’ lengths and subtracting the space you want to keep for a baseboard (typically 3/4 inch). Then, you should cut the flooring to length. When you need to trim the boards, use a circular saw and rip-cut first. This will save time and effort later in the process. Then install the final rows and finish the process.